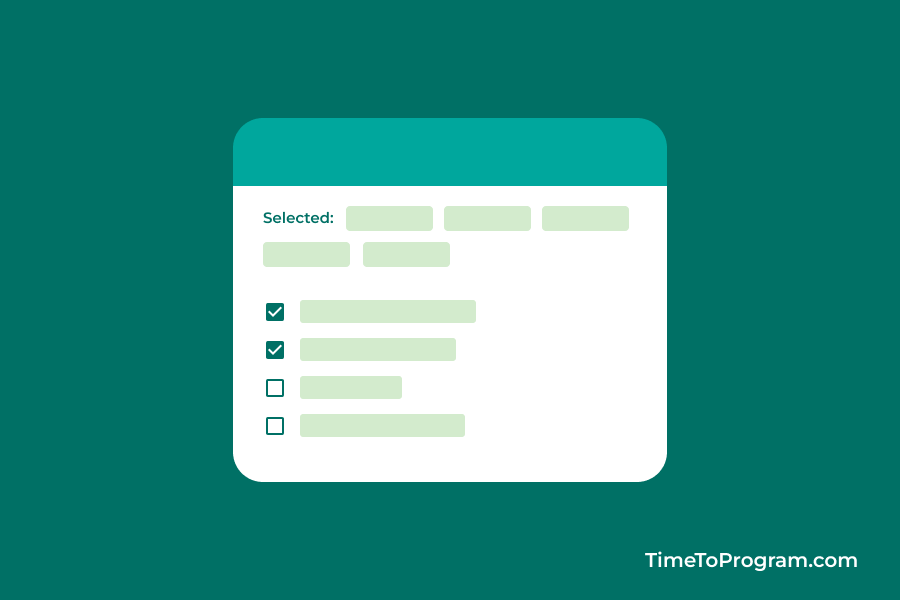
In this blog post, we are going to look at how to create checkbox list in React JS with an example. In this example, we are going to display a list of checkboxes and the user can check multiple checkboxes.
And we will display the user-selected values above the checkbox list.
Steps to display checkbox list in React JS
- Render the checkbox list using the map() method
- Store user-selected values into the state variable
- Display the user-selected values
1. Render the checkbox list using the map() method
Let’s first define some variables, we have a state variable ‘checkedList’ to store the user-selected values and we have a variable named ‘listData’ which contains a list of data that we use to render our checkboxes.
const [checkedList, setCheckedList] = useState([]);
  const listData = [
    { id: "1", value: "Javascript" },
    { id: "2", value: "Python" },
    { id: "3", value: "Java" },
    { id: "4", value: "Kotlin" },
    { id: "5", value: "Dart" },
    { id: "6", value: "C#" },
  ];
Now, we will render our checkbox list using the map() method.
{listData.map((item, index) => {
  return (
    <div key={item.id} className="checkbox-container">
      <input
        type="checkbox"
        name="languages"
        value={item.value}
        onChange={handleSelect}
      />
      <label>{item.value}</label>
    </div>
  );
})}
In the above JSX code, we are rendering a list of checkboxes with the help of the map() method. Inside the map function, we are returning the input element and a label.
2. Store user-selected values into the state variable
To store the selected values into the ‘checkList’ state variable, we have written the ‘handleSelect’ function and assigned this function to the onChange event attribute of the input element.
const handleSelect = (event) => {
    const value = event.target.value;
    const isChecked = event.target.checked;

    if (isChecked) {
      //Add checked item into checkList
      setCheckedList([...checkedList, value]);
    } else {
      //Remove unchecked item from checkList
      const filteredList = checkedList.filter((item) => item !== value);
      setCheckedList(filteredList);
    }
  };
Inside the handleSelect function, we are checking whether the item is checked or not, if the item is checked we are adding that value to ‘checkList’ and if it is not checked we are removing the value from the ‘checkList’.
Also Checkout:
3. Display the user-selected values
<div className="list-container">
<label>You Selected:</label>
{checkedList.map((item, index) => {
return (
<div className="chip">
<p className="chip-label">{item}</p>
</div>
);
})}
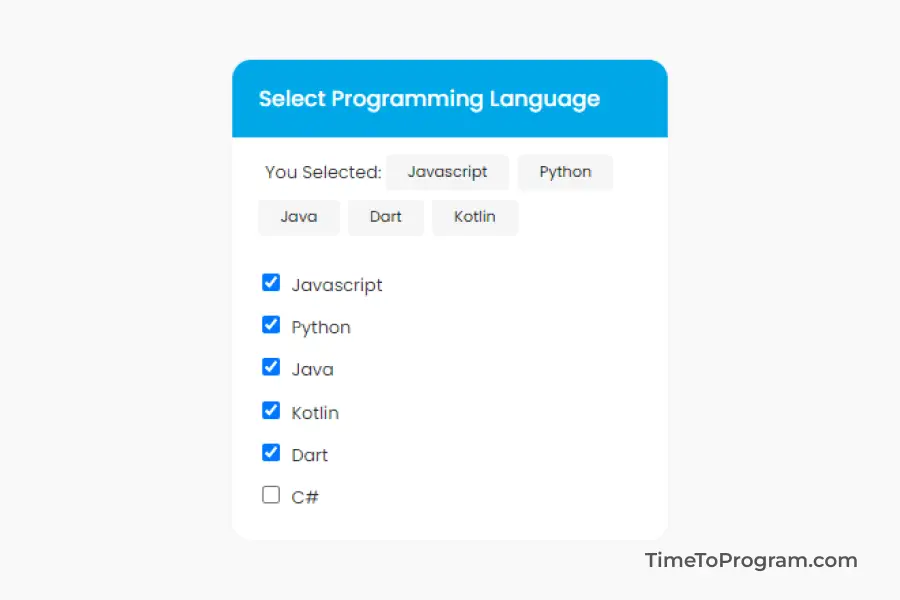
</div>;Now we will be having the user-selected values inside the ‘checkList’ variable. We will display the selected values using the map() method.
4. Output
Complete Code
App.js
import React, { useState } from "react";
function App() {
  const [checkedList, setCheckedList] = useState([]);
  const listData = [
    { id: "1", value: "Javascript" },
    { id: "2", value: "Python" },
    { id: "3", value: "Java" },
    { id: "4", value: "Kotlin" },
    { id: "5", value: "Dart" },
    { id: "6", value: "C#" },
  ];

  const handleSelect = (event) => {
    const value = event.target.value;
    const isChecked = event.target.checked;

    if (isChecked) {
      //Add checked item into checkList
      setCheckedList([...checkedList, value]);
    } else {
      //Remove unchecked item from checkList
      const filteredList = checkedList.filter((item) => item !== value);
      setCheckedList(filteredList);
    }
  };

  return (
    <div className="container">
      <div className="card">
        <div className="card-header">
          <p className="title">Select Programming Language</p>
        </div>

        <div className="list-container">
          <label>You Selected:</label>
          {checkedList.map((item, index) => {
            return (
              <div className="chip">
                <p className="chip-label">{item}</p>
              </div>
            );
          })}
        </div>

        <div className="card-body">
          {listData.map((item, index) => {
            return (
              <div key={item.id} className="checkbox-container">
                <input
                  type="checkbox"
                  name="languages"
                  value={item.value}
                  onChange={handleSelect}
                />
                <label>{item.value}</label>
              </div>
            );
          })}
        </div>
      </div>
    </div>
  );
}

export default App;
index.css
*{
  font-family: 'Poppins', sans-serif;
  padding: 0;
  margin: 0;
}

.container {
  width: 100vw;
  height: 100vh;
  display: flex;
  flex-direction: column;
  align-items: center;
  justify-content: center;
  background-color: #f9f9f9;
}

.card {
  width: 20rem;
  background-color: #fff;
  border-radius: 1rem;
  border: 2px solid #F6F6F6;
  overflow: hidden;
  margin: 0 0.5rem;
}

.card-header{
  border-bottom: 1px solid #F6F6F6;
  padding: 1rem 1.2rem;
  background-color: #00A8E7;
}

.title {
  font-size: 1rem;
  font-weight: 500;
  color: #fff;
  margin: 0;
}

.card-body{
  padding: 1rem 1.2rem
}

.checkbox-container {
  padding: 0.2rem;
}

label{
  font-size: 0.8rem;
  color: #343434;
  margin-left: 0.5rem;
}

.list-container{
  padding: 0.5rem 1rem 0 1rem;
  display: flex;
  align-items: center;
  flex-wrap: wrap;
}

.chip {
  padding: 0.3rem 1rem;
  background-color: #f5f5f5;
  border-radius: 0.2rem;
  margin: 0.2rem;
}

.chip-label {
  font-size: 0.7rem;
  color:#000
}
Conclusion
This is a simple example to display a list of checkboxes in React JS. Hope it helped you.