In this tutorial, we are going to explore how to create an image zoom component in React JS. Zoomable image components can be very useful in various situations, such as image galleries, displaying scientific diagrams, etc.
We will not be using any library instead, we will be creating our own custom component to zoom in and zoom out an image in React.
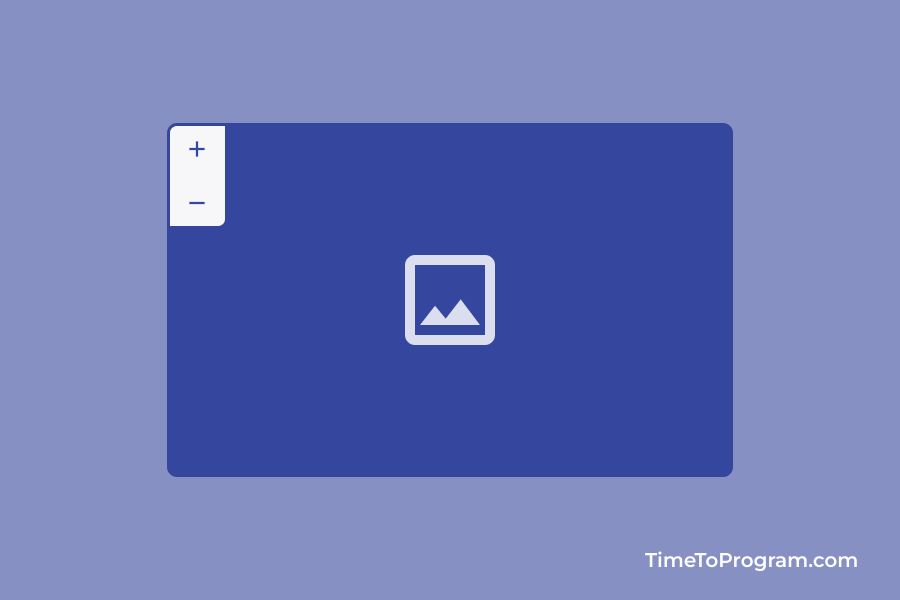
As you can see in the above video, we have displayed an image and there are two buttons for zoom in and zoom out. The user can also drag the image to see more details.
How to Create Zoomable Image Component in React JS
First, we will create our `ImageZoomInOut` component, which takes `imageUrl` as a prop. Then we define the required state variables.
Defining state variables
const [scale, setScale] = useState(1);
const [position, setPosition] = useState({ x: 0, y: 0 });
const imageRef = useRef(null);
The `scale` state variable holds the current scale value of the image, while the `position` variable holds the current position of the image. `imageRef` is a reference to the `img` element that we will render later.
Defining zoom in/out functions
const handleZoomIn = () => {
   setScale((scale) => scale + 0.1);
};

const handleZoomOut = () => {
   setScale((scale) => scale - 0.1);
};
In the above code, we have defined two functions that handle the zoom-in/out functionality. When the `handleZoomIn` function is called, it increases the `scale` value by 0.1, and when the `handleZoomOut` function is called, it decreases the `scale` value by 0.1.
Defining mouse event listeners with the useEffect hook
  useEffect(() => {
    const image = imageRef.current;
    let isDragging = false;
    let prevPosition = { x: 0, y: 0 };

    const handleMouseDown = (e) => {
      isDragging = true;
      prevPosition = { x: e.clientX, y: e.clientY };
    };

    const handleMouseMove = (e) => {
      if (!isDragging) return;
      const deltaX = e.clientX - prevPosition.x;
      const deltaY = e.clientY - prevPosition.y;
      prevPosition = { x: e.clientX, y: e.clientY };
      setPosition((position) => ({
        x: position.x + deltaX,
        y: position.y + deltaY,
      }));
    };

    const handleMouseUp = () => {
      isDragging = false;
    };

    image?.addEventListener("mousedown", handleMouseDown);
    image?.addEventListener("mousemove", handleMouseMove);
    image?.addEventListener("mouseup", handleMouseUp);

    return () => {
      image?.removeEventListener("mousedown", handleMouseDown);
      image?.removeEventListener("mousemove", handleMouseMove);
      image?.removeEventListener("mouseup", handleMouseUp);
    };
  }, [imageRef, scale]);
Here, we use the useEffect hook to add mouse event listeners to the `img` element. When the component mounts, the useEffect function is called, and the mouse event listeners are attached to the `img` element referenced by `imageRef`.
The `handleMouseDown` function sets a flag indicating that the image is being dragged, and the current position of the mouse. The `handleMouseMove` function calculates the change in the position of the mouse and updates the position of the image accordingly using the `setPosition`.
The `handleMouseUp` function resets the drag flag. We remove the mouse event listeners when the component unmounts
Render image and buttons for zooming in and out
  return (
    <div
      style={{
        backgroundColor: "#ffffff",
        borderRadius: "10px",
        position: "relative",
        overflow: "hidden",
      }}
    >
      <div className="btn-container">
        <button onClick={handleZoomIn}>
          <span class="material-symbols-outlined">add</span>
        </button>
        <button onClick={handleZoomOut}>
          <span class="material-symbols-outlined">remove</span>
        </button>
      </div>

      <img
        ref={imageRef}
        src={imageUrl}
        alt=""
        style={{
          width: "50vw",
          height: "auto",
          transform: `scale(${scale}) translate(${position.x}px, ${position.y}px)`,
          cursor: "move",
        }}
        draggable={false}
      />
    </div>
  );
The above JSX code renders the image element and two buttons for zooming in and out. The image element has a `ref` attribute that references the `imageRef` variable, which is used to access the image element in the `useEffect` hook.
We set the `draggable` attribute to false to prevent the default behavior of dragging and dropping the image.
Complete code of `ImageZoomInOut` component:
import React, { useState, useRef, useEffect } from "react";


function ImageZoomInOut({ imageUrl }) {
  const [scale, setScale] = useState(1);
  const [position, setPosition] = useState({ x: 0, y: 0 });
  const imageRef = useRef(null);

  const handleZoomIn = () => {
    setScale((scale) => scale + 0.1);
  };

  const handleZoomOut = () => {
    setScale((scale) => scale - 0.1);
  };

  useEffect(() => {
    const image = imageRef.current;
    let isDragging = false;
    let prevPosition = { x: 0, y: 0 };

    const handleMouseDown = (e) => {
      isDragging = true;
      prevPosition = { x: e.clientX, y: e.clientY };
    };

    const handleMouseMove = (e) => {
      if (!isDragging) return;
      const deltaX = e.clientX - prevPosition.x;
      const deltaY = e.clientY - prevPosition.y;
      prevPosition = { x: e.clientX, y: e.clientY };
      setPosition((position) => ({
        x: position.x + deltaX,
        y: position.y + deltaY,
      }));
    };

    const handleMouseUp = () => {
      isDragging = false;
    };

    image?.addEventListener("mousedown", handleMouseDown);
    image?.addEventListener("mousemove", handleMouseMove);
    image?.addEventListener("mouseup", handleMouseUp);

    return () => {
      image?.removeEventListener("mousedown", handleMouseDown);
      image?.removeEventListener("mousemove", handleMouseMove);
      image?.removeEventListener("mouseup", handleMouseUp);
    };
  }, [imageRef, scale]);

  return (
    <div
      style={{
        backgroundColor: "#ffffff",
        borderRadius: "10px",
        position: "relative",
        overflow: "hidden",
      }}
    >
      <div className="btn-container">
        <button onClick={handleZoomIn}>
          <span class="material-symbols-outlined">add</span>
        </button>
        <button onClick={handleZoomOut}>
          <span class="material-symbols-outlined">remove</span>
        </button>
      </div>

      <img
        ref={imageRef}
        src={imageUrl}
        alt=""
        style={{
          width: "50vw",
          height: "auto",
          transform: `scale(${scale}) translate(${position.x}px, ${position.y}px)`,
          cursor: "move",
        }}
        draggable={false}
      />
    </div>
  );
}

export default ImageZoomInOut;
Also check out:
Using the `ImageZoomInOut` component in App.js
import React from 'react'
import ImageZoomInOut from './ImageZoomInOut'

const IMAGE_URL = 'YOUR_IMAGE_PATH_HERE'

function App() {
  return (
    <div>
      <ImageZoomInOut imageUrl={IMAGE_URL} />
    </div>
  )
}

export default App
Here, we are passing a prop named `imageUrl` to the `ImageZoomInOut` component, which is a string containing the URL of the image we want to display and zoom. The `imageUrl` prop is then received and used in the `img` tag inside the `ImageZoomInOut` component to display the image.
By rendering the `ImageZoomInOut` component with the appropriate `imageUrl` prop, we can easily display and interact with the zoomable image component in our application.
Output:

Conclusion
That’s it, we have created our zoomable image component in React JS. This component allows users to zoom in and out of an image using buttons and drag the image to reposition it. You can also try to customize this component by adding more functionalities.