In this blog post, we are going to learn how to create a simple price range slider using HTML, CSS, and Javascript. The price range slider input will be useful when the user wants to select a minimum and maximum price within a given range.
As you can see in the demo video, we have our price range slider input and we are also displaying the user-selected minimum and maximum prices. We can use these kinds of price range slider inputs in e-commerce projects to filter products based on the user-selected price range.
Steps to Create Custom Price Range Slider in HTML CSS and Javascript
- Write HTML Code for Price Range Slider
- Style Price Range Slider using CSS
- Write Javascript Code to Make Slider Work
Write HTML Code for Price Range Slider
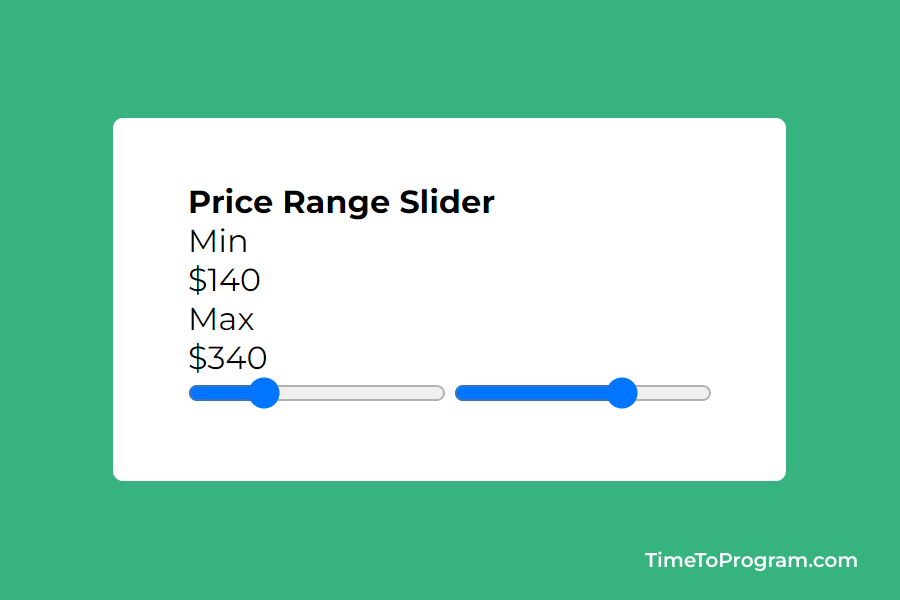
Firstly let’s create our index.html file and write HTML code for our price range slider.
index.html
<!DOCTYPE html>
<html lang="en">
<head>
<meta charset="UTF-8" />
<meta name="viewport" content="width=device-width, initial-scale=1.0" />
<link rel="stylesheet" href="style.css" />
<title>Price Range Slider</title>
</head>
<body>
<div class="card">
<h4>Price Range Slider</h4>
<div class="price-content">
<div>
<label>Min</label>
<p id="min-value">$50</p>
</div>
<div>
<label>Max</label>
<p id="max-value">$500</p>
</div>
</div>
<div class="range-slider">
<div class="range-fill"></div>
<input
type="range"
class="min-price"
value="100"
min="10"
max="500"
step="10"
/>
<input
type="range"
class="max-price"
value="250"
min="10"
max="500"
step="10"
/>
</div>
</div>
<script src="script.js"></script>
</body>
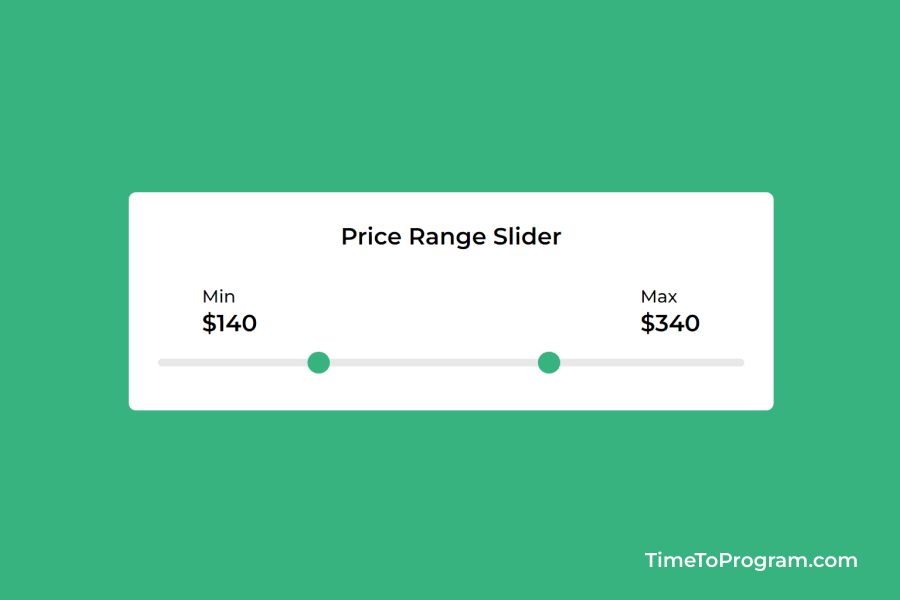
</html>In the above HTML code, we have two <p> tags to display the minimum and maximum price selected by the user. And we have added two input elements of the type range. One range slider to select the minimum price and another range slider to select the maximum price.
After adding this code our UI looks something like this.
Style Price Range Slider using CSS
Now, let’s add some styles to our price range slider using CSS. add the following code inside the styles.css file.
styles.css
.card {
width: 400px;
background-color: #fff;
border-radius: 5px;
padding: 20px;
box-shadow: 0px 9px 20px 0px rgba(14, 88, 48, 0.1);
}
h4 {
font-size: 18px;
font-weight: 500;
color: #000;
margin-bottom: 20px;
text-align: center;
}
.price-content {
display: flex;
align-items: center;
justify-content: space-between;
margin: 0 10px;
}
label {
font-size: 14px;
font-weight: 500;
}
p {
font-size: 16px;
font-weight: 600;
}
.range-slider {
width: 400px;
position: relative;
margin: 15px 0 30px 0;
}
.range-fill {
height: 6px;
background-color: #36b37e;
position: absolute;
z-index: 1;
}
input[type="range"] {
-webkit-appearance: none;
width: 100%;
background: transparent;
position: absolute;
left: 0;
}
input[type="range"]::-webkit-slider-thumb {
-webkit-appearance: none;
height: 15px;
width: 15px;
border-radius: 50%;
background: #36b37e;
cursor: pointer;
margin-top: -5px;
position: relative;
z-index: 1;
}
input[type="range"]::-webkit-slider-runnable-track {
width: 100%;
height: 5px;
background: #e8e8e8;
border-radius: 3px;
border: none;
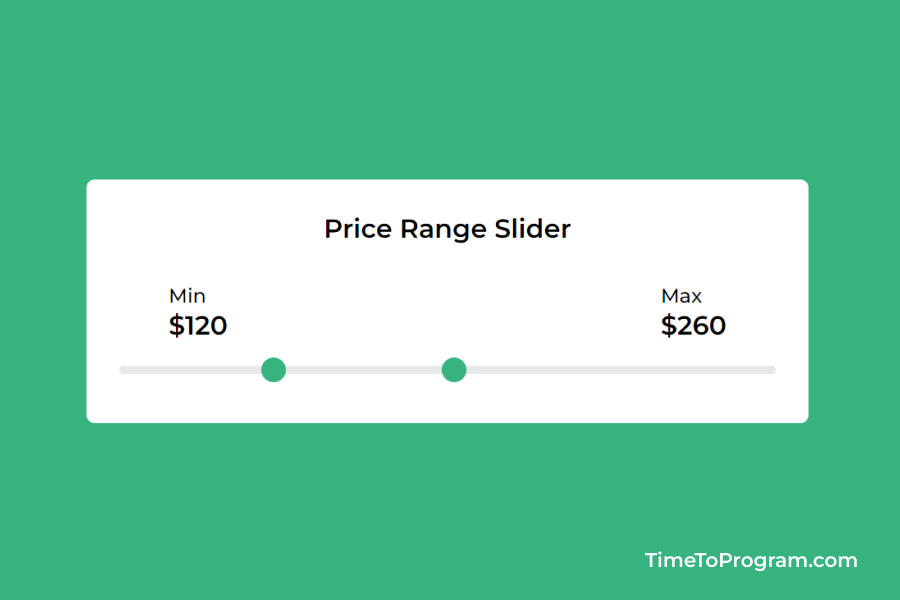
}Using CSS we have placed the two range slider inputs in a stack using the position: absolute property. And we have brought the slider thumb to the top using z-index: 1.
Write Javascript Code to Make Slider Work
Inside the script.js file, we have written the javascript code for our price range slider element.
script.js

let minValue = document.getElementById("min-value");
let maxValue = document.getElementById("max-value");

const rangeFill = document.querySelector(".range-fill");

// Function to validate range and update the fill color on slider
function validateRange() {
  let minPrice = parseInt(inputElements[0].value);
  let maxPrice = parseInt(inputElements[1].value);

  if (minPrice > maxPrice) {
    let tempValue = maxPrice;
    maxPrice = minPrice;
    minPrice = tempValue;
  }

  const minPercentage = ((minPrice - 10) / 490) * 100;
  const maxPercentage = ((maxPrice - 10) / 490) * 100;

  rangeFill.style.left = minPercentage + "%";
  rangeFill.style.width = maxPercentage - minPercentage + "%";

  minValue.innerHTML = "$" + minPrice;
  maxValue.innerHTML = "$" + maxPrice;
}

const inputElements = document.querySelectorAll("input");

// Add an event listener to each input element
inputElements.forEach((element) => {
  element.addEventListener("input", validateRange);
});

// Initial call to validateRange
validateRange();
In the above code, we have added an event listener to our range input elements. Whenever the input value changes we call validateRange() function.
The validateRange function takes minPrice and maxPrice as parameters. It checks whether minPrice is greater than maxPrice if true we swap the values of minPrice and maxPrice. We display the user-selected values in the UI.
Also, check out:
Conclusion
In this short tutorial, we have learned how to create a simple price range slider using HTML CSS, and Javascript. Hope it was useful.