Today in this tutorial, we will learn how to add file size validation in React. We will add a minimum and maximum file size limit so that users can only upload a file whose size is more than the specified minimum file size and less than the specified maximum file size.
Steps to Implement Validate File Size in React
- Setup React Project
- Creating UI
- Adding File Size Validation
Setup React Project
Firstly, we are going to create a react project using create-react-app.
npx create-react-app validate-file-size-reactjsCreating UI
import { useState } from "react";

function App() {
  const [selectedFile, setSelectedFile] = useState();
  const [errorMsg, setErrorMsg] = useState(false);
  const [isSuccess, setIsSuccess] = useState(false);

  const handleFileChange = (event) => {

  };

  const validateSelectedFile = () => {

  };

  return (
    <div className="App-container">
      <div className="card">
        <div className="card-header">
          <h4 className="title">File Size Validation</h4>
        </div>

        <div className="card-body">
          <p className="label">Choose File</p>
          <input
            type="file"
            name='file'
            onChange={handleFileChange}
          />

          <div className="space-between">
            <p className="info-message">Min size: 1MB</p>
            <p className="info-message">Max size: 5MB</p>
          </div>
          {isSuccess ? <p className="success-message">Validation successful</p> : null}
          <p className="error-message">{errorMsg}</p>

          <button className="btn" onClick={validateSelectedFile}>
            Submit
          </button>
        </div>
      </div>
    </div>
  );
}

export default App;
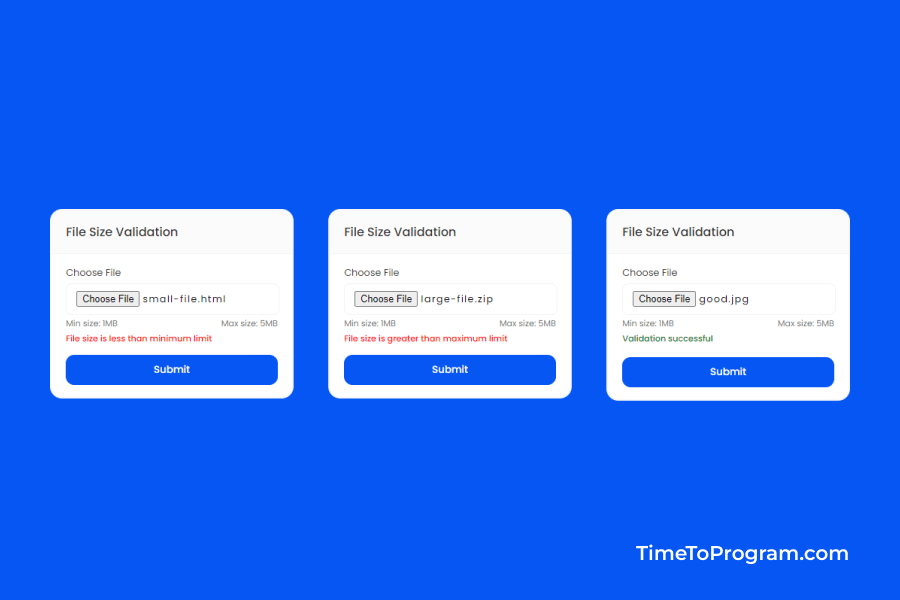
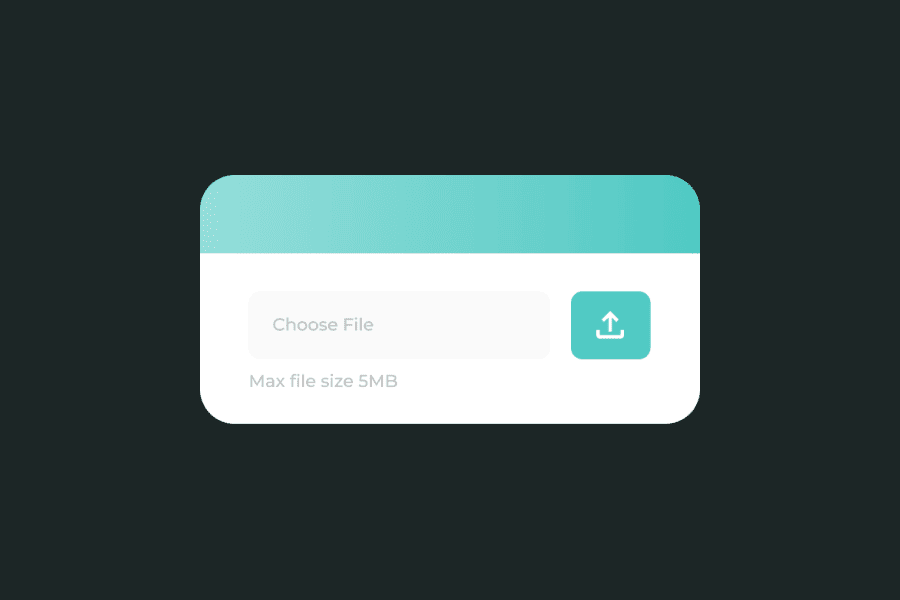
Let’s create our UI for this example, we will add an input element to choose a file and a submit button. We will also display the minimum and maximum file size limits in the UI.
Adding File Size Validation
App.js
import { useState } from "react";

function App() {
  const [selectedFile, setSelectedFile] = useState();
  const [errorMsg, setErrorMsg] = useState(false);
  const [isSuccess, setIsSuccess] = useState(false);

  const handleFileChange = (event) => {
    if(event.target.files.length > 0){
      setSelectedFile(event.target.files[0]);
    }
  };

  const validateSelectedFile = () => {
    const MIN_FILE_SIZE = 1024 // 1MB
    const MAX_FILE_SIZE = 5120 // 5MB

    if (!selectedFile) {
      setErrorMsg("Please choose a file");
      setIsSuccess(false)
      return
    }

    const fileSizeKiloBytes = selectedFile.size / 1024

    if(fileSizeKiloBytes < MIN_FILE_SIZE){
      setErrorMsg("File size is less than minimum limit");
      setIsSuccess(false)
      return
    }
    if(fileSizeKiloBytes > MAX_FILE_SIZE){
      setErrorMsg("File size is greater than maximum limit");
      setIsSuccess(false)
      return
    }

    setErrorMsg("")
    setIsSuccess(true)
  };

  return (
    <div className="App-container">
      <div className="card">
        <div className="card-header">
          <h4 className="title">File Size Validation</h4>
        </div>

        <div className="card-body">
          <p className="label">Choose File</p>
          <input
            type="file"
            name='file'
            onChange={handleFileChange}
          />

          <div className="space-between">
            <p className="info-message">Min size: 1MB</p>
            <p className="info-message">Max size: 5MB</p>
          </div>
          {isSuccess ? <p className="success-message">Validation successful</p> : null}
          <p className="error-message">{errorMsg}</p>

          <button className="btn" onClick={validateSelectedFile}>
            Submit
          </button>
        </div>
      </div>
    </div>
  );
}

export default App;
Let’s first store the selected file into a state variable. To do that we will call the handleFileChange function on file input onChange. Inside the handleFileChange function, we are checking the length of the selected files.length > 0 if true we’ll store the selected file into a state variable.
Now to validate file size, we have written the validateSelectedFile function which will execute when the user clicks on submit button.
Inside the validateSelectedFile function, we have defined two constants MIN_FILE_SIZE and MAX_FILE_SIZE to store the minimum and maximum file sizes.
Also check out:
And then we are comparing the selected file size with the minimum and maximum file size constant defined earlier. If the selected file size is not between the minimum and maximum file size limits then we will show an error message to the user.
Output

