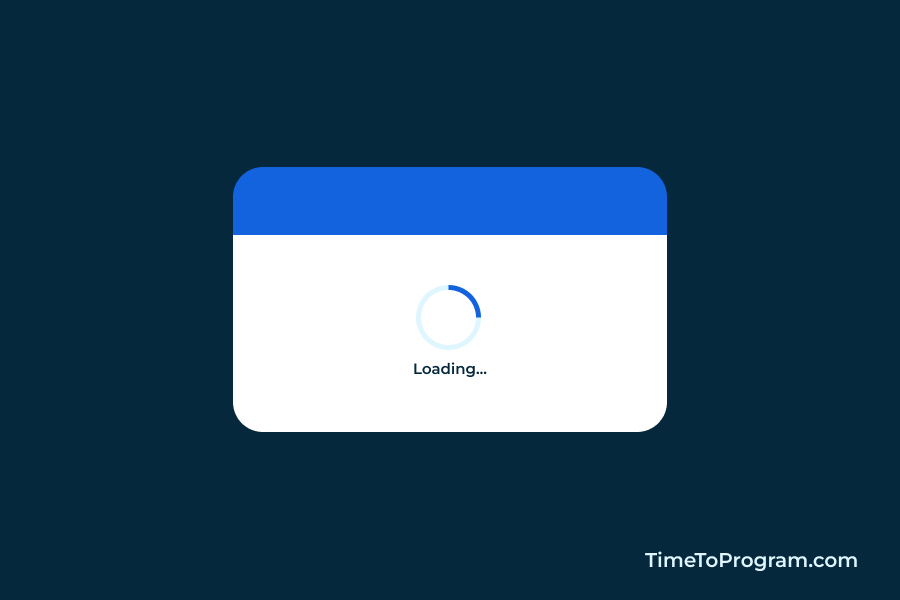
Today in this post, we will learn how to create animated loader in React JS with an example. And we will see how to show the animated loader when we are doing some asynchronous operations.
It is a good practice to show a loader when we are doing asynchronous operations like fetching data from the server. It will indicate to the user that some data is being fetched or some asynchronous operation is going on.
1. Creating Loading Spinner Component
Let’s create a component for our animated loader and call it AnimatedLoader.js. Inside it, we have ‘<div>’ which will act as a container for our loader.
AnimatedLoader.js
import React from 'react'
import "./index.css"

function AnimatedLoader() {
  return (
    <div className='loader-container'>
        <div className='loader'></div>
    </div>
  )
}

export default AnimatedLoader
And within that container, we have one more ‘<div>’ which is our loader.
2. Add Styles to Our Loader
index.css
.loader-container {
  width: 100px;
  height: 100px;
  display: flex;
  align-items: center;
  justify-content: center;
}

.loader {
  content: "";
  width: 60px;
  height: 60px;
  border: 8px solid #e8e8e8;
  border-top-color: #00a8e7;
  border-radius: 50%;
  animation: loading-anim 1s ease infinite;
}

@keyframes loading-anim {
  to {
    transform: rotate(0deg);
  }
  100% {
    transform: rotate(360deg);
  }
}
Here we are adding the size of the loader using the ‘width’ and ‘height’ properties. And we are transforming the loader into a circular ring by setting the ‘border-radius’ property to 50%.
We have defined the border size and color using the ‘border’ property. And have assigned a blue color to ‘border-top-color’.
To animate our loader, we are making use of @keyframes rules. Inside @keyframe rules, we are using transform with rotate from 0 to 360 degrees to create a continuous snipping animation effect.
Also check out:
3. Showing Animated Loader While Fetching Data
Now in App.js, we are going to use our animated Loader while we fetch some API data.
const getAPIData = () => {
    setLoading(true);
    fetch("http://localhost:5000/getImages")
      .then((response) => response.json())
      .then((data) => {
        setImgList(data.data);
        setLoading(false);
      })
      .catch((error) => {
        console.log("ERROR:", error);
        setLoading(false);
      });
  };
We have defined a function getAPIData() inside which we are making an API call using javascript Fetch API. This API call will return a list of images.
Inside the getAPIData function before making the API call we are setting the loading state variable to ‘true’. And after successfully getting the data we are setting the loading state to ‘false’ and assigning the API data to an imgList state variable.
Also if we get any errors while making an API call we have set the loading state to false and console log the error.
Here is the JSX code below, we are displaying the loader while the loading state variable is true and displaying the actual API data.
<div className="container">
      {loading ? (
        <AnimatedLoader />
      ) : (
        <div className="img-container">
          {imgList.map((item, index) => {
            return (
              <img
                src={item.imageURL}
                width="200px"
                height="100px"
                style={{ objectFit: "cover" }}
              />
            );
          })}
        </div>
      )}

      <button className="btn" onClick={getAPIData}>
        Get Data
      </button>
    </div>
In the above JSX code, we are rendering the list of images using the map() method. And we have added ‘Get Data’ button. When the user clicks it we are calling the getAPIData() function.
Complete Code
AnimatedLoader.js
import React from 'react'
import "./index.css"

function AnimatedLoader() {
  return (
    <div className='loader-container'>
        <div className='loader'></div>
    </div>
  )
}

export default AnimatedLoader
App.js
import React, { useState } from "react";
import AnimatedLoader from "./AnimatedLoader";

function App() {
  const [loading, setLoading] = useState(false);
  const [imgList, setImgList] = useState([]);

  const getAPIData = () => {
    setLoading(true);
    fetch("http://localhost:5000/getImages")
      .then((response) => response.json())
      .then((data) => {
        setImgList(data.data);
        setLoading(false);
      })
      .catch((error) => {
        console.log("ERROR:", error);
        setLoading(false);
      });
  };

  return (
    <div className="container">
      {loading ? (
        <AnimatedLoader />
      ) : (
        <div className="img-container">
          {imgList.map((item, index) => {
            return (
              <img
                src={item.imageURL}
                width="200px"
                height="100px"
                style={{ objectFit: "cover" }}
              />
            );
          })}
        </div>
      )}

      <button className="btn" onClick={getAPIData}>
        Get Data
      </button>
    </div>
  );
}

export default App;
index.css
.loader-container {
  width: 100px;
  height: 100px;
  display: flex;
  align-items: center;
  justify-content: center;
}

.loader {
  content: "";
  width: 60px;
  height: 60px;
  border: 8px solid #e8e8e8;
  border-top-color: #00a8e7;
  border-radius: 50%;
  animation: loading-anim 1s ease infinite;
}

@keyframes loading-anim {
  to {
    transform: rotate(0deg);
  }
  100% {
    transform: rotate(360deg);
  }
}

.container {
  height: 100vh;
  display: flex;
  flex-direction: column;
  align-items: center;
  justify-content: center;
}

.img-container {
  width: 616px;
  display: flex;
  align-items: center;
  flex-wrap: wrap;
  gap: 8px;
}

.btn {
  font-size: 15px;
  font-weight: 500;
  background-color: #00a8e7;
  color: #fff;
  padding: 10px 30px;
  border-radius: 6px;
  border: none;
  margin-top: 30px;
}