In this blog post, we will create a read more and read less button using HTML, CSS, and Javascript to display a concise version of the content, and users can decide whether they want to see more content.
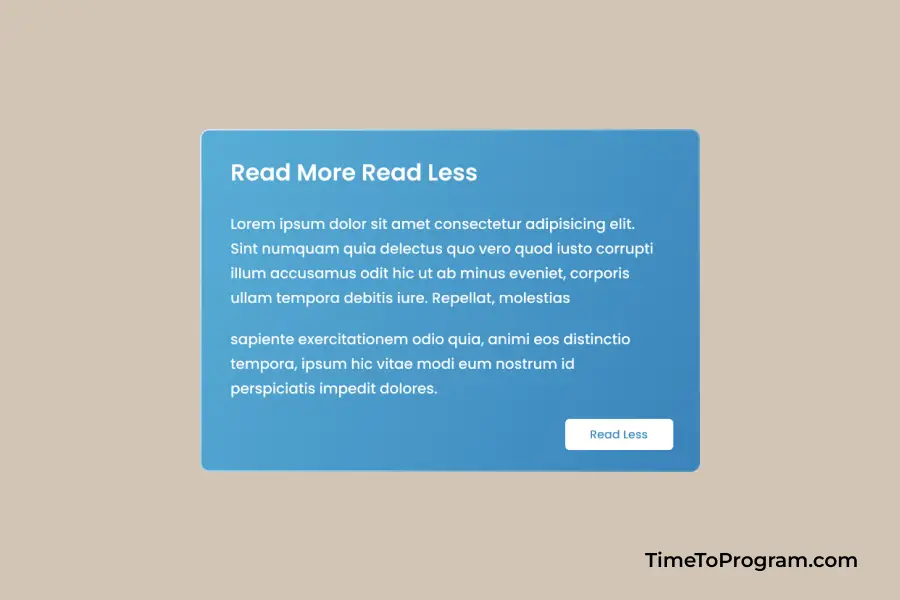
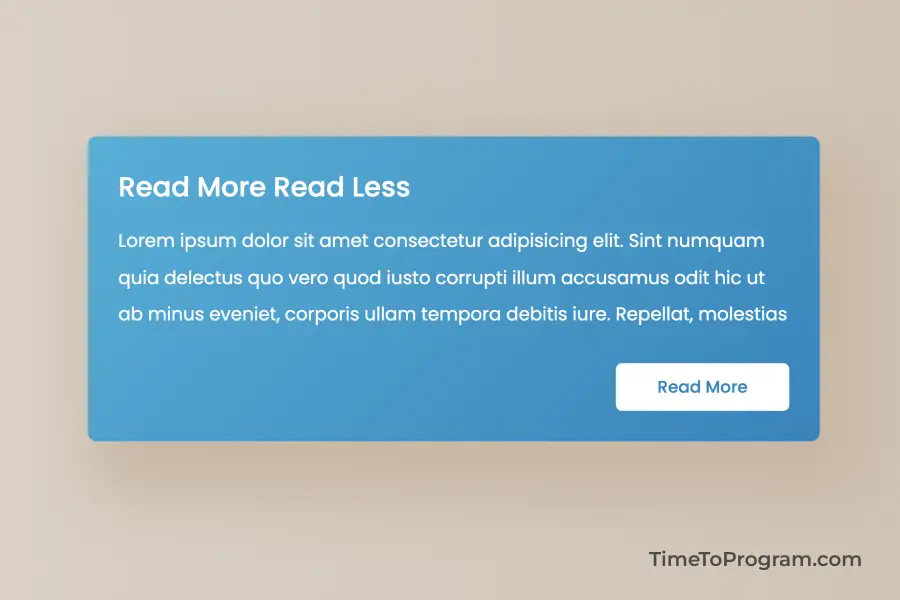
As you can see in the above demo video, we have displayed initial text and a read more button inside a card. When the user clicks on the `Read More` button the extra content will be displayed and the button name will be changed to `Read Less`.
Setting Up the HTML Structure
To begin, let’s set up the HTML structure for our project. Here’s the code snippet that forms the foundation of our button functionality:
<div class="card" id="card">
  <h3>Read More Read Less</h3>
  <p>
    Lorem ipsum dolor sit amet consectetur adipisicing elit. Sint numquam quia
    delectus quo vero quod iusto corrupti illum accusamus odit hic ut ab minus
    eveniet, corporis ullam tempora debitis iure. Repellat, molestias
  </p>
  <p id="moreContent" style="display: none">
    sapiente exercitationem odio quia, animi eos distinctio tempora, ipsum hic
    vitae modi eum nostrum id perspiciatis impedit dolores.
  </p>
  <button id="toggleButton">Read More</button>
</div>
In the above code snippet, we’ve created a simple card-like structure containing a title, a brief excerpt of content, and a hidden additional content section (p with id=”moreContent”). The “Read More” button to toggle the visibility of the hidden content.
Now, let’s move on to styling our elements with CSS.
Styling with CSS
Styling plays a crucial role in making our buttons and content visually appealing.
Here’s the CSS code that adds style to our project:
* {
  font-family: "Poppins", sans-serif;
  padding: 0;
  margin: 0;
  outline: none;
  transition: all 0.5s ease;
}

body {
  width: 100vw;
  height: 100vh;
  display: flex;
  flex-direction: column;
  align-items: center;
  justify-content: center;
  background: linear-gradient(90deg, #e3ddd5 0%, #c7b6a4 100%);
}

.card {
  width: 22rem;
  display: flex;
  flex-direction: column;
  border-radius: 0.3rem;
  padding: 1rem;
  margin-top: 1.5rem;
  background: linear-gradient(135deg, #58AED7 0%, #3983BA 100%);
  box-shadow: 14px 17px 33px 13px #C8B7A5;
}

h3 {
  font-size: 0.9rem;
  font-weight: 500;
  color: #ffffff;
}

p {
  font-size: 0.6rem;
  font-weight: 400;
  line-height: 1.2rem;
  margin: 0.5rem 0;
  color: #ffffff;
}

button {
  display: flex;
  align-self: flex-end;
  font-size: 0.55rem;
  font-weight: 500;
  color: #3983BA;
  background-color: #ffffff;
  border: 1px solid #ffffff;
  border-radius: 0.2rem;
  padding: 0.3rem 1.3rem;
  margin-top: 0.5rem;
  cursor: pointer;
  transition: all 0.5s ease;
}

button:hover {
  color: #ffffff;
  background-color: #3983BA;
}
The `.card` class styles our card container, giving it a fixed width, rounded corners, and a subtle shadow. The content elements (h3, p) are styled with appropriate font sizes, weights, and colors. The button itself is designed with a distinct color scheme and a hover effect.
Continuing on, we’ll integrate interactivity using JavaScript.
Adding Interactivity with JavaScript
JavaScript is where the magic happens. Let’s introduce the JavaScript code that brings our “Read More” and “Read Less” button functionality to life:
const card = document.getElementById('card');
const moreContent = document.getElementById('moreContent');
const toggleButton = document.getElementById('toggleButton');

let isShowMore = false;

toggleButton.addEventListener('click', () => {
  isShowMore = !isShowMore;

  if (isShowMore) {
    moreContent.style.display = 'block';
    toggleButton.textContent = 'Read Less';
  } else {
    moreContent.style.display = 'none';
    toggleButton.textContent = 'Read More';
  }
});
The JavaScript code establishes interaction by tracking the `isShowMore` variable to determine the current state. The event listener attached to the “Read More” button toggles this state. When the button is clicked, the content’s visibility is adjusted, and the button text changes accordingly.
The “Read More” Functionality
Clicking the “Read More” button will reveal the hidden content. This is achieved by adjusting the display property of the `moreContent` element:
// Inside the event listener
moreContent.style.display = 'block';
The “Read Less” Functionality
Conversely, when the “Read Less” button is clicked, the additional content is hidden again, and the button text is updated:
// Inside the event listener
moreContent.style.display = 'none';
By toggling the state of the `isShowMore` variable and adjusting the display property, we’ve successfully implemented the “Read More” and “Read Less” button functionality.
Also checkout:
Output:
Conclusion
In this tutorial, we’ve covered the process of creating “Read More” and “Read Less” buttons using HTML, CSS, and JavaScript. This interactive element enhances user experience by allowing them to control the amount of content they see.
By following the steps outlined here, we can improve content organization and create a more user-friendly interface on our website.